Oct 28, 2026
Last Updated: October 28, 2026
Quick Summary
Avoiding traditional injection moulding delays means designing parts for manufacture before any steel is cut, testing prototypes physically, and allowing for at least one trial loop. Most delays come from tool manufacture and avoidable design rework, so getting the design right first time is the cheapest insurance.
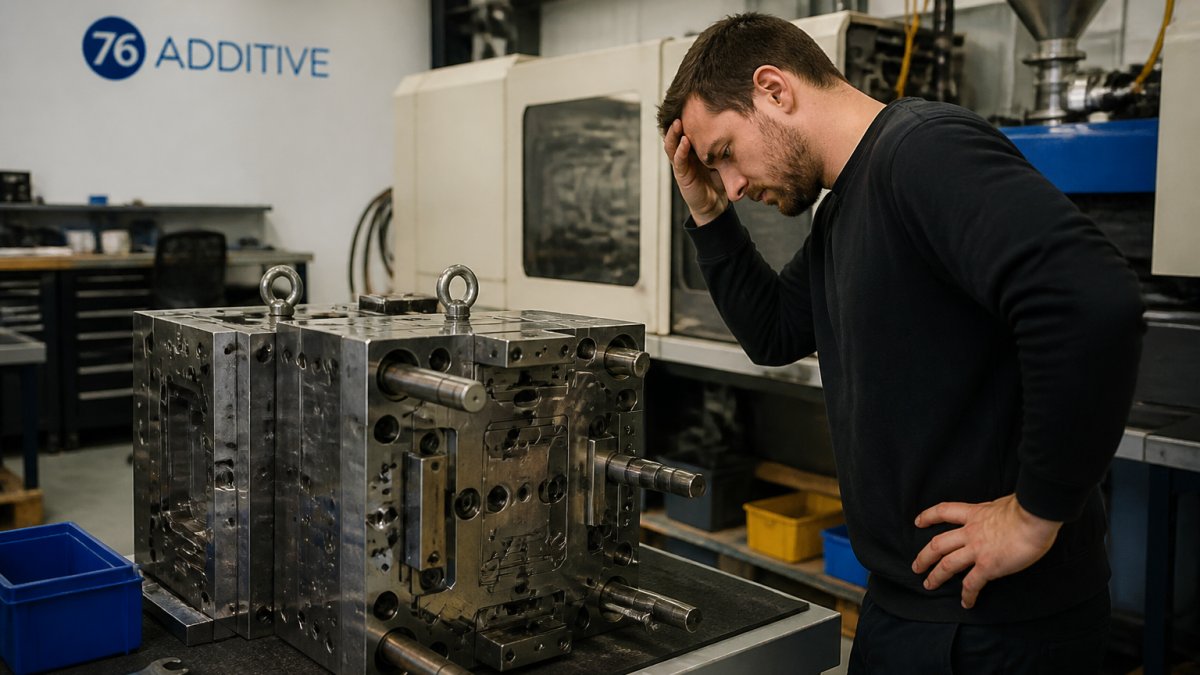
Most projects that miss their launch date do not fail on the factory floor. They fail in the queue for a steel tool. Avoiding traditional injection moulding delays starts with understanding where the wait actually comes from.
Injection moulding delays are the gaps between design sign-off and a production-ready part, caused by tool manufacture, design rework and process faults. The tool is almost always the longest item.
A mould has to be designed, cut, polished and trialled before it makes a single saleable part. The mould build to production timeline puts simple two-plate moulds at six to eight weeks from design lock to first shot, with complex tools running far longer. Every design change after the steel is cut restarts part of that clock.
Rework is the silent delay. A wall that is too thin, a draft angle that is missing, or a gate in the wrong place means the tool gets modified, not the part. That is weeks gone, and it is entirely avoidable. If long lead times are already hurting your plans, our guide to the benefits of on-demand manufacturing for UK SMEs sets out the alternative.
Plan on weeks, not days. A typical injection moulding lead time covers tool design, machining, trials and production, and the tool dominates the schedule.
Stage | Typical Duration | What Causes Slippage |
|---|---|---|
Tool design and review | 1-2 weeks | Unclear drawings, late changes |
Mould manufacture | 4-8 weeks simple, 12-20 weeks complex | Machine queue, hard steel, fine detail |
Trials and sign-off | 1-2 weeks | Warping, short shots, cosmetic faults |
Production run | Days to weeks | Material lead time, capacity |
Add contingency for at least one trial loop. Most first tools need one.
Good design for injection moulding is the cheapest delay insurance you can buy. It means designing parts that fill, cool and eject cleanly before anyone cuts metal.
The rules that matter most:
A common mistake is treating these as cosmetic details. They are schedule decisions. A part designed properly first time skips the rework loop entirely.
Prototype testing before tooling is the step that separates calm launches from expensive ones. Test the geometry physically before you commit to steel.
Print or machine a small batch, fit it, break it, and measure it. Check tolerances against your drawing. Test the assembly, not just the part. If the design needs a change, you want that news now, not after the mould is cut.
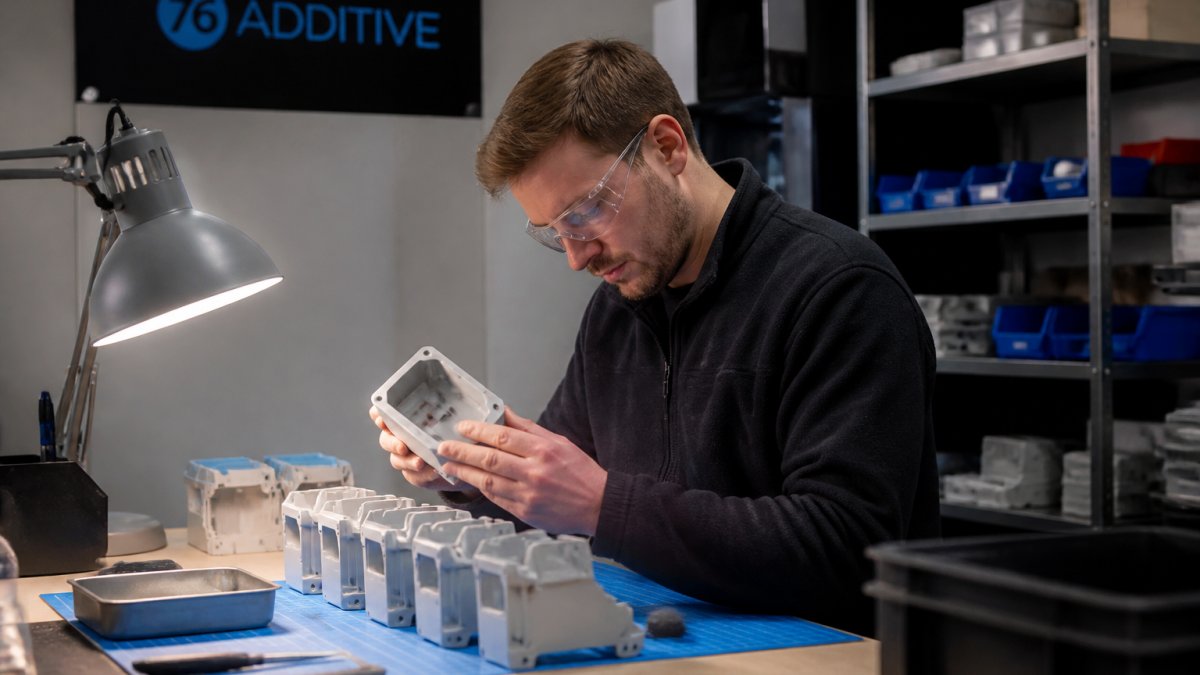
For a closer look at how we approach this, read our guide to rapid prototyping of plastic components. It covers the practical side of turning a CAD file into a testable part.
Once a tool is running, the delays come from the press. A review of advanced injection moulding methods notes that melt overheating, excess back pressure and poor mould cooling all stretch cycle times.
Here is the part most guides miss. If your volumes are low to mid, you may not need a tool at all.
3D printing for small-batch production removes the tooling wait entirely. Parts print directly from a digital file, so a design change costs a re-export, not a new mould.
At 76 Additive, our MJF 3D printing service produces repeatable end-use parts with no tooling investment. We have spent 17 years in design and manufacturing, and we supply components to UK cycling brands.
The challenge is simple: you need parts that fit, fast, without betting a large sum on a tool you may have to change. Avoiding traditional injection moulding delays is a design and process discipline.
We provide MJF and Carbon DLS printing, end-to-end design support and direct communication with the operator. You can discover our in-house 3D printing services to see which route suits your part, and contact us when you are ready to talk it through.
Get started with 76 Additive.
Most delays come from tooling. Simple moulds are reported to take 4-8 weeks to build, while complex tools run to 12-20 weeks, with simple two-plate moulds averaging 6-8 weeks from design lock to first shot. On top of that, late design changes force tool rework, and process issues such as melt overheating, excessive back pressure and poor mould cooling stretch cycle times. Each problem compounds the next, so a single design revision late in the programme can push a launch back by months.
Yes. Testing a design as a physical part before cutting steel catches fit, tolerance and assembly problems while changes are still cheap. A 2023 review in Materials describes injection moulding as a commonly used method for manufacturing plastic products, but its value depends on the design being settled first. Prototyping in the final material, or a close equivalent, lets you lock the geometry, run tolerance checks and confirm the part works before any tooling spend is committed.
76 Additive produces repeatable end-use components with MJF and Carbon DLS technology and no tooling investment.
Run a small test batch first. Review the model against design for injection moulding rules such as wall thickness, draft angles and gate placement, then have physical parts made and measured against your tolerances. Smart manufacturing is reported to lift defect detection by as much as 50%, so build inspection into the trial rather than leaving it to the production run. A test batch from 76 Additive shows whether a geometry is viable before you commit to a larger order.
Opening Hours (our printers run through the night)
Monday - Friday, 9am - 5pm


76 Additive
19 Hall Barn Road Industrial Estate
Isleham, Ely
Cambridgeshire, CB7 5RJ
76 Projects t/a 76 Additive
Registered in England & Wales Company no: 10235633
VAT: 245 830 796